If you have died to the Twisted Warden more than once, you already know that Minecraft Dungeons II boss health bars are not just decorative meters. They are the single most reliable telegraph of what a boss will do next, and learning to read them turns a frustrating wall into a manageable fight. Because the game hides phase transitions behind health thresholds, understanding exactly when a boss changes behavior is the difference between a clean kill and a wasted run.
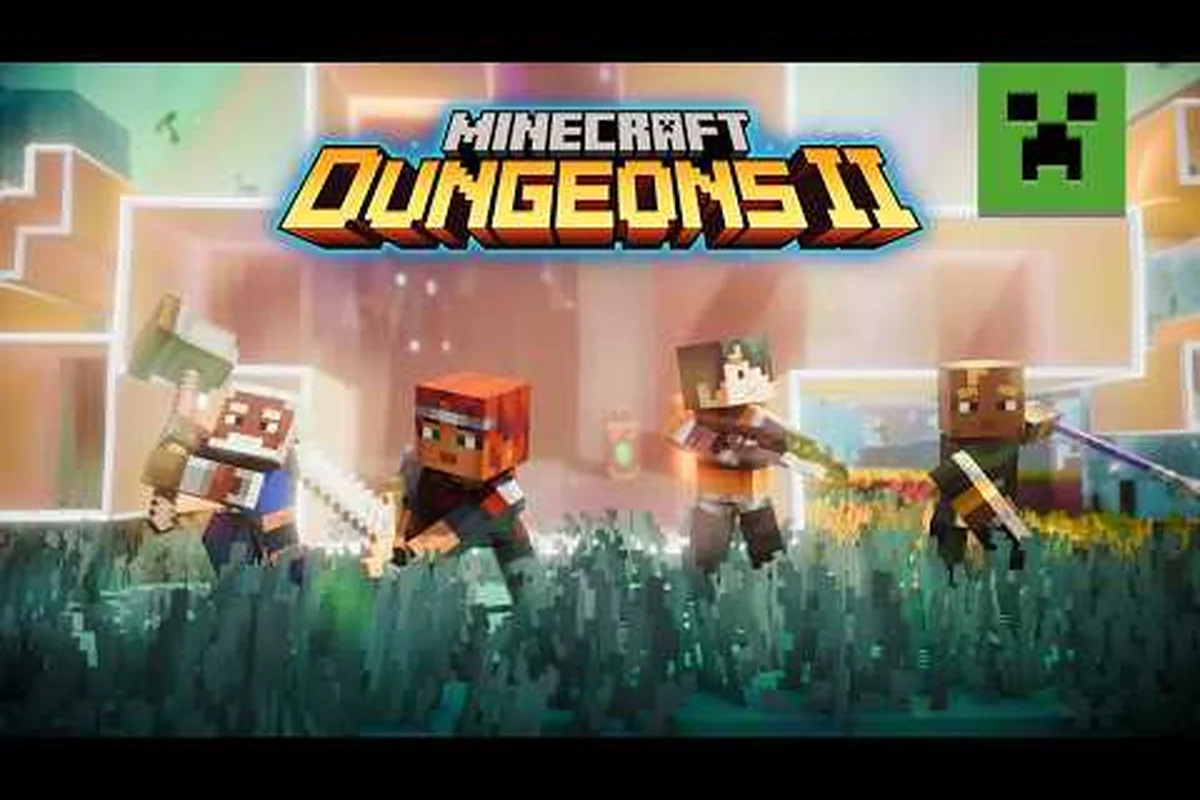
The demo encounter at the Xbox Games Showcase made this brutally clear: the Twisted Warden punishes greedy melee play and rewards learning its attack tells before committing to damage windows. Every boss in the game follows this logic, so once you learn to read the bar, every fight becomes more predictable.
The Anatomy of Minecraft Dungeons II Boss Health Bars
| Slot Type | Number of Slots | Example Loadout |
|---|---|---|
| Armor | 4 | Twisted Warden demo loadout |
| Artifact | 3 | Tornado Blade (enchantable at Enchantsmith) |
| Talisman | 3 | Bone talisman (dog companion) |
Boss health bars in Minecraft Dungeons II are segmented into visual chunks that correspond to phase thresholds. Unlike the original game, where bosses simply had a single pool of HP, the sequel introduces multiple behavior states that trigger at specific percentages. The bar itself is divided into three main segments, and each segment break marks a shift in the boss's attack pattern.
The first segment, from 100% to roughly 66%, is the opening phase. During this window, the boss uses its most telegraphed attacks, which are slow and easy to dodge. The second segment, from 66% to 33%, is the enrage phase, where attack speed increases and new moves are introduced. The final segment, from 33% to zero, is the desperation phase, where the boss gains access to its most dangerous abilities and often summons adds.
| Phase Segment | Health Range | Boss Behavior | Player Strategy |
|---|---|---|---|
| Opening | 100% - 66% | Slow, telegraphed attacks | Learn tells, build artifact charges |
| Enrage | 66% - 33% | Faster attacks, new moves | Use defensive artifacts, reposition |
| Desperation | 33% - 0% | Adds spawn, ultimate abilities | Burst damage, save cooldowns |
Because the health bar is the only reliable indicator of these transitions, you should always keep an eye on the segment boundary. When the bar crosses the 66% mark, the boss will usually perform a special animation or a roar, which is your cue to stop attacking and prepare to dodge.
The Twisted Warden: Reading the Deep Dark Boss Health Bar
The Twisted Warden is the showcase boss of the Minecraft Dungeons II demo, and its health bar is a masterclass in phase design. According to the official Xbox Wire coverage of the demo, this is a supersized and extra powerful version of the Warden from the base Minecraft game, and its fight is designed to punish greedy melee play.
The Warden's health bar behaves differently from most bosses because it has a hidden mechanic: the bar does not start draining until you have dealt enough damage to break its initial guard. This means the first few hits you land will not reduce the bar at all, which can be confusing if you are not expecting it. Once the guard breaks, the bar starts draining normally, and the phase transitions begin. This guard-break mechanic becomes even more critical in later boss fights, so consult our Minecraft Dungeons II Boss Guide for phase-specific strategies.
According to the official Xbox announcement, boss health bars in Minecraft Dungeons II are built around the ARPG's larger-scale encounters, featuring extended health pools and segmented phases that reflect the game's deeper combat mechanics.
The Slam Attack and Phase One
During the first phase, the Warden relies on a heavy slam attack that creates a shockwave in a cone in front of it. The health bar segment is still full, but the boss's tells are clear: it rears back, and its arms glow. The Xbox Wire demo notes that this attack punishes greedy melee windows, so you should only attack after the slam has been dodged.
The Second Phase and the Roar
When the bar crosses the 66% threshold, the Twisted Warden lets out a roar that summons a small group of sculk zombies. This is the first major phase transition, and it is the moment when the fight becomes chaotic. The boss's slam attack now has a follow-up, a second slam that covers a wider area. The health bar is your only warning that this change is coming, so you need to be ready to dodge twice.
The Ancient City Boss and the Deep Dark Encounter
The Ancient City is the location of the deep dark boss fight, and it is one of the most challenging encounters in the game. The boss here is a variant of the Warden, but it has a unique health bar mechanic that ties into the darkness mechanic. The bar is surrounded by a glowing blue aura that drains when you are in the darkness, and this aura acts as a secondary resource.
When the aura is full, the boss is enraged and its attacks deal significantly more damage. When the aura is empty, the boss is sluggish and takes extra damage. The key is to manage the darkness by staying near light sources, which are scattered around the arena. The health bar itself is still the primary indicator of phase changes, but the aura adds a layer of resource management.
The Ancient City boss also has a unique desperation phase. When the health bar drops below 33%, the boss begins to summon sculk shriekers, which are small enemies that emit a sonic shriek that can stun you. The health bar will flash and the boss will glow, which is your cue to focus on killing the shriekers before they can stun you.
How to Beat Bosses: A General Dungeon Boss Guide
While each boss has unique mechanics, there is a universal strategy for reading health bars and winning fights. The first rule is to never attack during a phase transition. When the health bar crosses a threshold, the boss will always perform a special animation, and attacking during this window will usually result in a counterattack.
The second rule is to save your artifacts for the desperation phase. Most players use their artifacts early in the fight, but the desperation phase is where you need the burst damage. The bone talisman, which summons a dog companion, is particularly valuable here because the dog can draw aggro during the chaos. According to the Xbox Wire demo coverage, this talisman reshapes survivability by attacking enemies, drawing aggro, and taking damage in your place.
The third rule is to position yourself relative to the boss's health bar. When the bar is above 66%, you can afford to be aggressive. When it is below 66%, you should start moving to the edges of the arena to avoid the new attacks. When it is below 33%, you should be constantly moving and saving your dodge rolls for the boss's ultimate ability.
Boss Cheese Strategies and Their Risks
Every action RPG has a "cheese" strategy, and Minecraft Dungeons II is no exception. The most common cheese for the Twisted Warden involves standing in a corner and using a ranged weapon to chip away at the health bar without triggering the melee attacks. This works because the boss's slam attacks are melee-range, and it will not chase you if you are far enough away.
However, the cheese has a major risk: the boss's enrage phase. When the health bar crosses the 66% threshold, the Warden gains a ranged attack that can hit you even in the corner. The cheese still works, but you have to be ready to dodge the new attack. A safer cheese is to use the bone talisman to draw aggro while you attack from a distance, which is a more reliable strategy.
Another cheese involves stacking regen-on-kill enchantments on your weapon. The Xbox Wire demo notes that weapon enchants creating regen spots on kill help sustain through extended boss health bars. This is not a true cheese, but it allows you to tank hits that would otherwise kill you, which effectively turns the fight into a war of attrition.
Advanced Phase Management for the Deep Dark Boss
The deep dark boss in the Ancient City has a more complex phase system than the Twisted Warden. Its health bar is divided into four segments, and each segment break triggers a different environmental effect. The first break causes the arena to darken, the second causes sculk shriekers to spawn, and the third causes the boss to gain a new slam attack.
The most important thing to know is that the boss's health bar does not drain linearly. The bar has a "shield" mechanic that absorbs a portion of damage, and the shield is only broken when you hit the boss with a specific artifact. This means you cannot simply DPS the boss down; you have to use the artifact to break the shield, then deal damage during the window.
The shield mechanic is the reason why the deep dark boss is considered one of the hardest fights in the game. The health bar is a visual representation of the shield, and it looks like a glowing overlay on top of the actual health. When the shield is up, the bar is blue. When the shield is down, the bar is red. You should always be looking at the bar to know when to use your artifact.
The Shield-Break Window
When the shield breaks, the boss is stunned for a few seconds, and the health bar drains at a faster rate. This is the window to use your highest damage abilities. The bone talisman's dog companion is especially useful here, because it can keep the boss distracted while you deal damage.
The Desperation Phase
At 25% health, the boss enters a desperation phase where it summons a wave of sculk shriekers. The health bar will flash, and the boss will begin to glow. This is the moment to use your ultimate ability or your highest cooldown artifact. If you have a dog companion, it will likely die during this phase, so be ready to resummon it.
Reading Boss Health Bars to Time Your Damage
| Pre-Order Bonus | Type | Details |
|---|---|---|
| Hero Skins | Cosmetic | 2 bonus skins |
| Twisted Cape | Cosmetic | Cape item |
| Twisted Chicken Pet | Companion | Pet following player |
| Release Date | Date | September 29, 2026 |
-
Track the bar, not the boss: The boss's animations are a secondary cue. The health bar is the primary indicator of when the boss will change behavior.
-
Save your dodge for the phase transition: When the bar crosses a threshold, the boss will perform a special attack. Save your dodge for this moment.
-
Use the bone talisman: The dog companion is the best tool for drawing aggro during the chaos of a phase transition. It takes damage in your place and respawns on a short timer.
-
Position yourself based on the bar: When the bar is above 50%, you can be aggressive. When it is below 50%, start moving to the edges of the arena.
-
Do not panic when the bar is low: The desperation phase is the most dangerous, but it is also the shortest. Focus on dodging and wait for the right window to attack.
The most important tip is to not overcommit. The health bar is a constant reminder that the boss is about to change, and the moment you see the bar cross a threshold, you should stop attacking and start dodging. This is the core skill that separates players who beat bosses on the first try from those who struggle.
Frequently Asked Questions
What do the different colors on the boss health bar mean?
The health bar color indicates the boss's current state. A blue bar means the boss has a shield or is in a defensive state, while a red bar means the boss is vulnerable. The bar also flashes when the boss is about to enter a new phase, which is your cue to stop attacking and start dodging.
How do I break the shield on the deep dark boss?
The shield on the deep dark boss is broken by using a specific artifact that you find in the Ancient City. The artifact creates a shockwave that removes the shield. Once the shield is broken, the boss is stunned for a few seconds, and you have a window to deal high damage.
Is there a way to skip the boss phases in Minecraft Dungeons 2?
No, you cannot skip the phases. The health bar is a hard gate that determines when the boss changes behavior. However, you can shorten the time you spend in each phase by using high-damage artifacts and by breaking the shield quickly.
What is the best weapon for the Twisted Warden?
The best weapon is a fast-hitting melee weapon with a regen-on-kill enchant. The regen effect helps you sustain through the extended health bar, and the fast attack speed allows you to get in and out of the damage window quickly.
Does the boss health bar affect the co-op experience?
Yes, the health bar scales with the number of players. In co-op, the bar is longer, and the boss has more health. The phase transitions are the same, but the boss will use its area attacks more frequently, so you need to coordinate your positioning.